When embarking on a home renovation project that involves tiling, one of the most crucial steps is accurately calculating the amount of tile needed. A tile calculator can streamline this process, ensuring you purchase the right amount of materials without overspending or running short. This guide will walk you through the essentials of using a tile calculator effectively, covering everything from measuring your space to understanding tile types and layouts.
Flooring Tile Calculator
Quantity Summary
1. Cement bag = 50 kg cement
2. Dry density of sand = 1550 kg/m³.
Understanding the Basics of Tile Calculators
A tile calculator is a tool designed to estimate the number of tiles required for a specific area, whether it’s a floor, wall, or other surfaces. It takes into account various factors such as tile size, room dimensions, and grout spacing. By inputting accurate measurements and selecting appropriate options, you can receive an estimate that helps you make informed purchasing decisions.
Key Features of Tile Calculators
- Area Measurement: The calculator requires the dimensions of the area to be tiled, typically in square feet or square meters.
- Tile Size: You must specify the dimensions of the tiles you plan to use.
- Waste Factor: It’s essential to account for waste due to cutting and fitting tiles, usually recommended at around 10%.
Step-by-Step Guide to Using a Tile Calculator
Step 1: Measure Your Space
Begin by measuring the area where you plan to install the tiles. For floors:
- Length: Measure the length of the room in feet or meters.
- Width: Measure the width of the room in feet or meters.
For walls:
- Measure each wall’s height and width separately if tiling multiple walls.
- If there are windows or doors, measure their dimensions and subtract them from your total area.
Example Calculation:
If your room is 20 feet long and 15 feet wide:
Area = Length × Width = 20 ft × 15ft = 300sq ft
Step 2: Determine Tile Size
Next, decide on the size of the tiles you will use. Common sizes include:
- 12″ x 12″ (1 sq ft)
- 12″ x 24″ (2 sq ft)
- Larger formats like 18″ x 36″ or custom sizes.
Calculate the area covered by one tile:
Tile Area = Width × Length
For a 12″ x 12″ tile: Tile Area=1 ft×1 ft = 1 Sq.Ft
Step 3: Input Measurements into the Tile Calculator
Using your measurements:
- Enter the total area of your space.
- Enter the size of your chosen tile.
- Specify any grout gap if applicable.
Step 4: Calculate Number of Tiles Needed
The calculator will provide an estimate based on your inputs:
Number of Tiles = Tile Area ÷ Total Area
For our example:
If your total area is 300 Sq.Ft and each tile covers 1 Sq.Ft:
Number of Tiles = 300 ÷ 1 = 300
Step 5: Add Waste Factor
To account for waste due to cutting and fitting tiles:
Multiply your total by an additional percentage (typically 10%).
For our example:
Total with Waste = Number of Tiles + (Number of Tiles × 0.10 ) = 300+(300×0.10) = 330
Choosing the Right Tile Type
Tiles come in various materials and styles; understanding these can influence both aesthetics and functionality:
Ceramic Tiles
Ceramic tiles are a popular choice due to their affordability and versatility. Made from clay and fired in a kiln, they come in various colours, patterns, and finishes. They are suitable for light to moderate traffic areas, making them ideal for residential bathrooms and kitchens. However, they may not withstand heavy foot traffic as well as other materials.

Porcelain Tiles
Porcelain tiles are denser and less porous than ceramic tiles, making them more durable and moisture-resistant. They are suitable for both indoor and outdoor use and are ideal for high-traffic areas like hallways and commercial spaces. Their low water absorption rate also makes them perfect for wet environments such as bathrooms and kitchens.
Natural Stone Tiles
Natural stone tiles, including marble, granite, slate, and limestone, offer unique textures and colors that can enhance the beauty of any space. While they provide a luxurious look, they often require more maintenance than ceramic or porcelain tiles. For example, natural stone may need regular sealing to prevent stains and damage.

Glass Tiles
Glass tiles add a modern touch to any space and are commonly used for backsplashes or decorative accents. They are easy to clean but can be slippery when used on floors, making them less suitable for high-traffic areas
Layout Patterns
The layout pattern can significantly affect how many tiles you need:
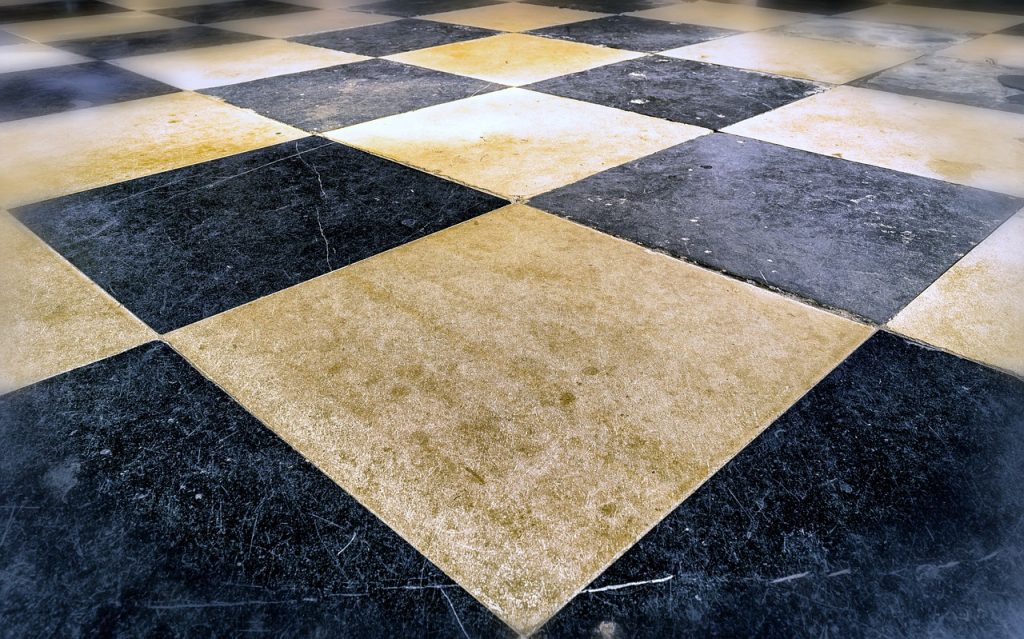
- Straight Lay: Simple grid pattern; easiest to install.
- Diagonal Lay: This creates a dynamic look but may require more cutting.
- Herringbone or Chevron: Stylish patterns that use more tiles due to their design complexity.
Common Mistakes When Using a Tile Calculator
To ensure accuracy in your calculations, avoid these common pitfalls:
- Incorrect Measurements: Double-check all measurements before inputting them into the calculator.
- Ignoring Grout Lines: Always include grout gaps in your calculations; they can significantly impact tile counts.
- Not Accounting for Waste: Always add a buffer for waste; underestimating can lead to project delays.
Conclusion
Using a tile calculator is an essential step in any tiling project, whether you’re a DIY enthusiast or hiring professionals. By following this comprehensive guide, you can ensure that you purchase the right amount of tiles and avoid costly mistakes.
With careful planning and accurate calculations, your tiling project can transform your space beautifully while staying within budget. Remember to take your time with measurements and consider all factors involved in choosing your tiles and their layout for optimal results.
This guide aims not only to simplify your tiling process but also to empower you with knowledge that enhances your renovation experience. Happy tiling!


1 thought on “Best Tile Calculator For Your Home”